

XO Key Takeaways:
- Map the shortest, most direct duct route from hood to exterior to preserve airflow efficiency.
- Use rigid metal ducting and avoid venting into attics or crawlspaces to prevent code violations and long-term damage.
- Every 90° bend or long duct run reduces airflow significantly; seal all joints with foil tape, not standard duct tape.
- Before installation, verify your local code requirements (duct size, termination, makeup air) because codes vary by jurisdiction.
- After installation, test fan speeds, check for strong exterior airflow, and ensure the hood is level and vibration-free before finishing insulation and sealing.
You love how the island anchors the entire room, how conversation and cooking flow easily, and every meal becomes a shared moment.
But now it’s time to add a ceiling-mounted hood, and in your admiration, this is where you pause and begin to worry: how to install a range vent through a ceiling safely? Do I need a professional?
This quick XO guide will show you how to do it right and achieve professional, code-compliant results without breaking your design.
Ceiling Venting Requires Precision: Here’s Why
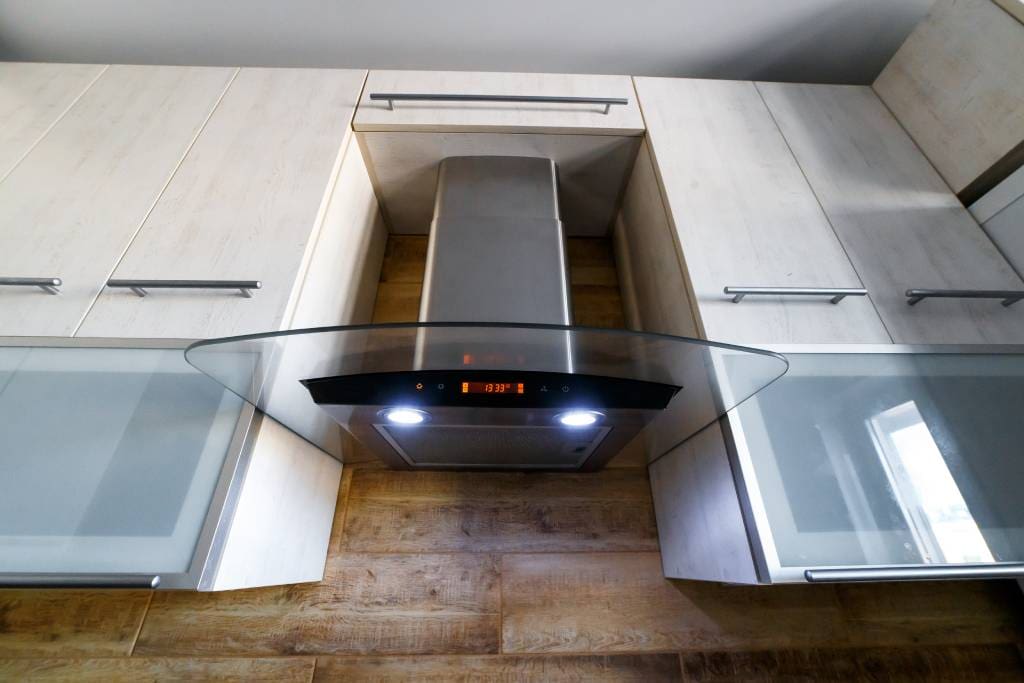
Installing kitchen range hood venting looks elegant, but the ceiling route is more complex than a wall vent because the air must travel up through joists and out the roof. The air must travel vertically through the ceiling joists, then exit through the roof.
If the duct run is too long or poorly sealed, your airflow suffers, grease collects, and noise increases. Even worse, an improper installation can leak air or moisture into the attic—violating building codes and risk long-term damage.
Step 1: Plan the Airflow Route
For range hood vent installation through the ceiling, map the shortest, straightest route to the exterior.
- Avoid unnecessary bends: Each 90° turn reduces efficiency by up to 20%.
- Follow manufacturers’ guidelines for duct size and length to protect airflow and noise levels.
- Check attic space for rigid ducting, insulation, and access to the roof penetration.
XO Pro Tip: If ceiling joists block the path, don’t cut blindly. Consult a licensed contractor.
Step 2: Review Your Local Building Codes
Before work begins on a ceiling-mounted range hood vent, confirm local code requirements:
- Rigid metal ducting (not flexible foil) to resist grease buildup.
- A dedicated electrical circuit for the hood’s fan and lights.
- A roof vent with a backdraft damper to block rain, insects, and debris.
- UL-listed materials rated for kitchen ventilation.
XO Pro tip: If your duct passes through an insulated attic, seal it tightly and wrap it with insulation to prevent condensation.
Step 3: Gather Tools and Materials
To install a range hood vent through a ceiling safely and with fewer trips.
Tools:
- Stud finder and measuring tap
- Drywall saw or hole saw
- Rigid round ducting and elbows
- High-temperature foil tape (not standard duct tape)
- Roof vent cap with built-in damper
- Mounting brackets and hardware (some manufacturers include that with their hoods)
- Electrical wiring tools and wire nuts
XO Pro tip: Use rigid metal ducting and foil tape for smooth, airtight airflow.
Step 4: Mount the Range Hood
Attach the first section of rigid duct to the hood’s exhaust collar using sheet-metal screws and foil tape. Continue vertically through the ceiling cavity and out the roof.
Safety essentials:
- Never vent into an attic or crawlspace; always exhaust outdoors.
- Maintain a minimum 6-inch duct diameter or what your manufacturer specifies.
- Keep duct runs straight with gentle transitions to reduce turbulence.
- Slightly slope the duct toward the exterior vent to prevent condensation from dripping back.
- Maintain a minimum 6-inch diameter duct (or the size specified by your hood).
- Slope the duct slightly downward toward the exterior vent to prevent condensation from running back.
At the roof exit, check for any crushed ducting, air leaks, or excessive bends. Airflow should feel strong and consistent.
Step 5: Wire and Test
Connect the electrical wiring according to the manufacturer’s diagram. Once wired, power the unit and test:
- Fan speeds respond correctly
- Lights illuminate
- Airflow exits freely from the roof vent
You should feel strong suction directly beneath the hood.
Step 6: Finish and Inspect
Seal all ceiling openings with fire-rated caulk. Reinstall insulation if removed during ductwork installation. Perform a final inspection to confirm:
- Proper alignment
- Secure duct joints
- No vibration or rattling noises
If any part feels uncertain—especially roof penetration or electrical work—hire a licensed installer. Safety is always the priority.
Shape the Air You Breathe
Knowing how to install a range hood vent through the ceiling safely means shaping the very air you breathe. Cleaner, quieter, and free of lingering heat, smells, or grease. At XO, every ceiling-mounted range hood vent is designed to account for how air actually moves.
Don’t compromise your kitchen’s gorgeous design. Browse and shop XO’s range hoods—where quiet power and cleaner air begin.