

XO Key Takeaways:
- Turn off fuel and cool grill fully before cleaning any parts.
- Soak and scrub grill grates in hot, soapy water; dry and oil them.
- Brush burners gently and keep water out of ports to avoid corrosion.
- Wipe stainless grill exterior with soapy water, then polish with cleaner.
- Deep clean every month and brush grates after each use for best results.
Grease, carbon, and salt air wreck heat control and shorten a grill’s life. For stainless-steel grills, whether freestanding or built in, we detail below a process tailored for 304 stainless steel. We’ll also cover burners and heavy-duty grates, helping you clean your grill thoroughly without scratching its stainless-steel finish.
Step 1: Preparing Your Grill Safely Before Cleaning
Begin by shutting off the fuel at the propane tank valve or the natural gas shut off. Remove stainless steel grates, top racks, flame tamers, and the drip tray if you have them.
Gather supplies:
- Mild dish soap
- Baking soda
- Nylon grill brush
- Non-abrasive sponge
- Microfiber cloths
- Soft bristle-brush or toothbrush for small areas and ports
- Food-safe high-heat oil
- Stainless steel cleaner or 1:1 vinegar-water mix
Avoid completely, as they can damage:
- Steel wool
- Bleach
- Ammonia
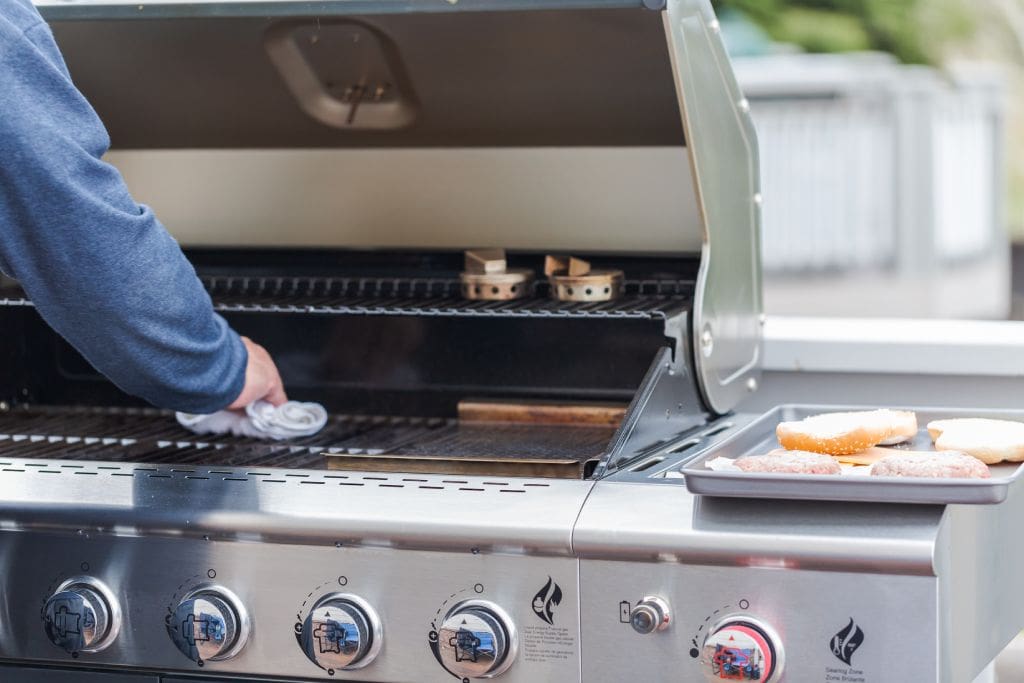
Step 2: The Best Way to Clean Grill Grates
To clean grill grates in the easiest manner possible, we recommend soaking them in hot, soapy water for 15-30 minutes. After, scrub them with a nylon brush.
For stubborn carbon, you can apply a baking-soda paste. Mix three parts baking soda to one part water, apply it to the grill grates, and wait another 10 minutes before scrubbing again and rinsing and drying thoroughly.
Once completely dry, wipe a thin film of high-heat oil before reinstalling the grates.
Step 3: How to Clean Grill Burners and Interior Walls
After removing the grill grates, lift any flame tamers and start by inspecting the burners. If they are dirty, brush gently with a dry, soft brush in the direction of the grain.
Keep water away from any ports. If a port appears clogged, clear it gently with a toothpick, thin wire, or soft-bristle toothbrush. You want to avoid accidentally enlarging the port.
For infrared burners, avoid any scraping. Tap any loose ash away and brush lightly. Wash your firebox walls and flame tamers with warm, soapy water and a non-abrasive sponge, then rinse with a damp cloth.
Last, empty and wash the drip tray and ensure it is dry before reinstalling.
Step 4: How to Get a Clean Stainless Grill Exterior
For your exterior panels, start with:
- A clean microfiber cloth dampened in soapy water.
- Wipe with the grain to lift grease without marring the finish.
- Rinse the cloth, wipe again, then dry fully to prevent water spots.
- For the final pass: Use a dedicated outdoor stainless cleaner or the 1:1 vinegar-water mix, then buff dry.
For knobs or a control panel, clean them gently and use a soft-bristle toothbrush for hard-to-reach areas. If your grill has LED lights, keep moisture away from switches. If you have interior halogen lenses, use only a dry microfiber cloth to clean them.
Step 5: Reassemble Your Grill and Perform a Safe Burn Off
Once everything is completely dry, reinstall everything. Reconnect gas and open the valve. If you are reattaching a propane tank, remember to perform a quick leak test with soapy water at the connection.
Reignite your grill with the lid open and run on high for 10 minutes to vaporize any residual soap or baking soda.
Step 6: How Often to Clean Your Grill (Maintenance that Works)
- After every use, brush the grates while they are still warm and empty the drip tray once cooled.
- Every 4-6 uses, or at least once a month, perform a full deep clean, including any burners, flame tamers, and interior walls.
- In coastal or humid climates, wipe the stainless exterior once a week to prevent surface rust.
- Before every season, inspect ignition, lighting, and any gas conditions.
Troubleshooting Grill Problems: Heat, Flare-Ups, and Odors
- Uneven heat? Usually, that means a clogged burner port. Repeat step 3.
- Persistent flare-ups? These could signal that your drip tray is full or your flame tamers are greasy.
- Odors after preheating? It could mean old grease was missed or left behind. Run a 15-minute burn-off and empty the tray again to see if it clears.
- Flames lift off burners? Double-check your gas supply and regulator orientation.
- Ignition stalling? Confirm all your grill parts are dry, check for any electrode gaps, and assess the battery condition if you can.
Keep your Grill Performing Like the Day You Installed It
When you know how to clean your grill, you learn how to protect its delicious searing power, ensure its longevity, and enjoy the smoky, mouth-watering flavor it brings. With this process, you’ll clean bbq grill grates easier, restore burner precision, and maintain a gorgeous, polished exterior without damage.
If thoughtful design and lasting performance always matter to you, explore XO Appliance’s full line of outdoor cooking grills—crafted for people like you who take grilling as seriously as they do outdoor living.